Posts
I’ve been dabbling a little bit every day with this project and I’ve made some big changes since day 1.
First, with some help from Brandon Rhodes on StackOverflow, I got the function to print the altitude/azmiuth data for a planet when you run the script. This is still hardcoded for South Bend, but that’s where I live, so it makes sense. Down the line, I’ll make this a variable a user can use to set their locality.
Next, I found a python module to pull the current date and time when requesting the planet’s location. Since the Earth moved, it didn’t make sense to display the position based on date alone. Now, it will read that information from the computer and give more accurate results. Because I did this during the day, I used the sun as my object so I could check it’s position in my program vs other databases and calculators online. And this is where my brain started to hurt.
If you’re not familiar with astronomy (and I’m still learning) you can display position in a few different ways. The easiest (most popular?) way to describe position is using altitude and azimuth coordinates. The altitude is the angle of the object above the horizon and the azimuth is it’s angular distance around the horizon. So, if it’s position is 30o, 270o, it would be 30 degrees above the horizon looking due west.

You can also use celestial coordinates, right ascension and declination. RA is the angular distance from the celestial equator. In other words, if you stand on the equator and look up, you’re looking at RA = 0. The declination, on the other hand, is the direction north or south of the celestial plane. To me, this is much harder to conceptualize in my brain, which is why I prefer alt/az descriptors.

So, back to the code. I got it to print alt/az data, which was awesome. So, to make sure it was working correctly, I checked it against some other tools, and that’s when I ran into problems.


So, I went back to the code and changed it to print out the RA/Dec instead of alt/az to see what would happen.

Which was better.
I need to find some way to improve my alt/az calculations. I don’t know if it’s my location data or if there need to be adjustments to conversions, but I’m getting funny answers. For now, I’ll keep it in RA/Dec because the entire point of this program down the line is to pass this data to a telescope, so it doesn’t matter which one is easier for the user to look at. We’ll see.
If you want to see the current code, here’s the current dev code base. If you’re a python coder, feel free to fork and contribute.
This is kind of a long story, but stick with me, because I’m excited about it.
Introduction
Earlier this year, I set a goal for myself to learn Python. I started on learning, but I didn’t really have any practical application for what I was doing.
Rising Action
I’ve always enjoyed astronomy, looking at the stars and planets, and more recently, trying to take pictures of them in my back yard.


I’m planning on buying a telescope in the near future, and part of that is going to include a simple motor to make sure I can aim it accurately and efficiently.
I’m also starting a master’s class in a couple weeks at MSU which is focusing on the maker culture idea and its implications in the classroom. Rather than purchasing a textbook for the course, we’ve been asked to buy a Raspberry Pi, Makey Makey, Squishy Circuits Kit, or a LittleBits kit.
And that’s when I had my stroke of insight. (I won’t be presumptuous and say genius. Yet.)
My project this fall is going to be going back and actually learning Python to create a program on the Raspberry Pi which can be used to control my telescope.
After doing some searching, I even found a Python library, PyEphem, which is a database of astronomical data put together (in part) by the Jet Propulsion Laboratory. Those are the guys that landed Curiosity on Mars. They know what they’re doing.
I know this is going to be a crazy six weeks of learning, working, and applying that to the classroom. While working full time. And raising my daughter.
Bring it on.
The Conflict
I’ve already started by looking back at the Python I’d already learned to see if I could begin to tap into what I’ve already found. I’ve got a public Github repository to hold all of the code as I write. Right now, it’s five lines of code that allow you to pick a planet and a date (even a future date…awesome) and it will tell you which constellation the planet appears in.
If you’ve got experience with Python, I’d really love to have your input as I go through the process.
I’m not expecting to have this totally done by the end of the semester, but I know I’m going to be learning a ton that I’ll be able to take back to the classroom someday.
It was one of those days, and I couldn’t pass this one up.
The Headless ds106 is in full swing, and this week is Design Week. I love design work because it makes me think hard about how to communicate ideas both subtly and artfully. You can see some of my design work from the Twilight Zone theme this past summer.
Earlier today, Rochelle Lockridge posted an article in which someone (a colleague?) created an animated GIF for a presentation they were doing for work. This animation is great (and probably beyond my own GIMP chops) and it was a cool story to see them work through the struggle to learn GIMP to produce the image.
Later, Alan posted this tweet:
This is where the shark jumps #ds106 00 Participant in @Rockylou22 3M Salon applying GIFs to science animation http://t.co/Z5DO2N5k3W
—Alan Levine (@cogdog) October 2, 2013
And BOOM. Sharks? Complicated animated GIFs of technical thingywhosits? I got to work.
I give you: “Make the shark jump you.”

In ds106, we don’t jump the shark. That bad boy jumps us.
Go make art.
Since 2011, the online resource of thousands of educational videos has been heralded as the “savior of education” and a model for flipped classrooms (I’m going to bite my tongue on this one), and now, the go-to place for “personalized learning.” There’s a whole lot of bad in here for a lot of different reasons. But, the newest piece, the idea of personalized learning delivered by Khan Academy, is dangerous.
How do you recognize an LMS? This is what I came up with:
- An LMS reports data, people reflect.
- An LMS flags poor performance, people grow through engaging members of the community
- An LMS hosts and organizes learning content, people build their content as they learn
- An LMS keeps track of grades, people couldn’t care less about grades when they’re engaged.
Remember, an LMS is a machine, nothing more, nothing less. It will only give what you put into it.
Now, back to my question. Khan Academy.
“Personalized learning” has popped up in KA promotional materials lately. (It is the phrase you use in a conference proposal to make sure it’s picked up.) The problem is that the personalized learning offered by most third party groups isn’t personalized at all. It’s actually randomized degree of difficulty. In other words, it’s a giant, adaptive test bank that feigns its way into schools under the guise of personalization. Students are still stuck in the system. They are still forced through the steps and procedures. They have no choice in how to demonstrate their learning other than the built in, old fashioned assessments. Personalization is being eroded because either companies are really good at sales and marketing, or we’re all looking for the wrong things.
And this is why Khan Academy is nothing more than a big, fancy LMS. While powerful and extremely helpful, every LMS out there locks you into their system. If you have students, assignments, announcements, documents, and assessments poured into one place, it becomes very difficult to see any reason to step away from that construct. Sure, they make the teachers life easier, but once you’re in, it’s hard to get out (mostly because of time constraints, not necessarily procedures to switch platforms).
The big difference between “traditional” systems is that the teacher was in control of the content. Not so with Khan Academy, and this is why it’s more dangerous than the others. Teachers and schools are diving into the system because of the helpful data and videos, but at the same time, they’re unwittingly sacrificing any option for a student to choose to do something different.
We’re asking the wrong questions when it comes to evaluating learning tools for our students.
While enticing, we should not be jumping toward anything that has content baked into the system. It becomes too easy to begin relying on that content as the backbone of your course, whether you “mean” to or not. Good intentions don’t count when students’ interests are sacrificed for the sake of simplicity.
What are you really using the LMS for? Too often, a LMS is a one-way communication tool with students simply uploading materials to turn in for grades. What limitations are place on them when it comes to choosing their learning opportunities? What options do students have to ask insightful questions and then find resources to report those out? What kind of content can be brought into the system to be used as a resource by anyone else in that system?
Ask yourself when you plan on allowing students to truly direct their own learning. If you can’t come up with a reasonable answer, ask yourself “why not?”
This summer, I survived the ds106zone. There was a creative blitz that I’ve been wanting to carry through the fall. But life (literally) has come into my life, and I haven’t been able to carry the momentum.
Right now, the ds106 community is tracking through a self-inflicted “headless” course. No professor, no grades, no expectations. It’s pretty fun to watch the flow coming through Twitter, and I wanted to take a few minutes today to participate in the visual work they’re doing.
The assignment was a photoblitz: 15 minutes of photography around certain themes. I was able to do about 10 minutes here at my desk during lunch (not counting the writeup). In fact, I didn’t even stand up. It was all done from my chair on my phone, because that’s all I had with me. My five photos are below.




You can see other photoblitz submissions on Flickr.
This post has been on the back burner for a long time, but I finally have a little time to sit down and finish it.
I use Chrome exclusively. There are a few little hiccups (like Java plugins not running, but really, in the age of HTML5, who uses Java plugins? Get with it, people.) but for the most part, Chrome is the most reliable and most customizable browser available.
One thing I really struggled with was having multiple Google accounts. I have my personal account, but I also had one for work. If you’re in a GAFE school, you know what I’m talking about. It really drove me nuts when I would click on a document link only to have it open in the wrong account.
I’ve discovered a really interesting little tidbit about Chrome that has changed my life forever. Chrome does this neat thing called “sandboxing.” Essentially, what happens in one tab doesn’t affect what happens in another. The same is true for one Chrome window in relation to another. This is the key.
So, to manage your Google life like a boss, you need to do a couple things. First, go into your Chrome settings.

Now, find the part on the page that says Users.

Then, click on Add new user. Once you name the user (and choose a sweet avatar) you’ll get a sign in page.

This sign in page is where you choose which account you want to use for this particular user. So, I have a personal user as well as a work user. Each user is linked to that specific Google account. So, I don’t have to deal with the annoying “multiple sign in” option any more.
The other awesome thing about this method is that all of your apps and extensions are kept separate (which makes sense, because they’re linked to accounts). I can have extensions associated with my personal Google account (RSS reader, calendar, etc) as well as extensions for my work account. The same is true for passwords, forms…you name it.
If you’re a Chrome user, this is definitely the most efficient I’ve ever been with the web. I do have to keep two windows open at times, but the amount of time that is saved from not having to sign in and out of accounts has been well worth a slightly more cluttered desktop.
Do you have any other Chrome power user tips? Leave them in the comments.
Today is the last day of our family of two. This weekend, my daughter will be born.
My wife is 39 weeks pregnant today. We’ve been busily preparing our home for the arrival of our daughter, who happens to be the first girl born in either family since Lindsey. We’ve been blessed with support from our families and we wouldn’t have been able to do nearly as much as we have in the time we were given.
How do I know my daughter will be born today? Because if Lindsey doesn’t go into labor by tonight, we will go to the hospital and be induced.

I’m in a weird place right now. This was not the plan. Everything has gone so well over the last 39 weeks, it feels almost like we’re dropping the ball at the goal line.
There are mental positives and negatives to this whole arrangement. Pro: I don’t have to anticipate waking up in the middle of the night to my wife’s contractions. Con: I have to think about the induction and possible cascading effects all day. It’s hard not to think about the negative impacts of medically inducing labor when you’re staring it in the face.
I trust our doctor. I trust his judgement and wisdom. I trust his staff, who alerted us to the fact that Lindsey’s amniotic fluid is lower than it should be. But I also trust that God has arranged all of our meetings, relationships, and circumstances with our best interests in mind. While this isn’t the path we were hoping to take, it doesn’t matter what we had in mind. All that matters is the fact that Lindsey delivers the baby safely, and that we can all come home together.
We’ve been prepared and we’ll continue to be equipped. We’re ready for two to become three.
I used to write a lot. It wrote about day-to-day. I wrote about wins and losses, living, learning, and people. I haven’t written that way in a long time. I want to change that.
I wrote, what seems like ages ago, about a shift in my career. I left the classroom. It was one of the hardest decisions I’ve ever had to make, and now, six months later, I’m still glad I took the risk. Honestly, until last March, I hadn’t ever considered what it would be like to not be a teacher. I went into college having my major declared. I stuck with the program, even though I wanted to quit in my third year. And I can’t even begin to explain how glad I am to have stayed with it for (nearly) four years after graduating.
I do have to admit that I’m still struggling with being part of the 50%. I had my reasons, as I’m sure everyone else does. But, it’s still hard to answer the question, or respond to the looks when I tell people I left teaching. Interesting side note: this fall was the first time in 25 years or so (including my own schooling) in which I didn’t experience a first day of school. It is definitely strange.
But, even in absentia, I can still experience students.
I bought a house nearly a year ago. We had overlooked it mainly because it looked pretty ugly on the inside. Not gonna lie. The yard is awesome though. We’ve got a full acre of land, with half of it fenced in the back. (I feel completely comfortable saying that a dog is in our future sometime.)
We moved in planning on doing some remodeling at some point. Mostly, because of the kitchen.

And then, we got another incredible piece of news.
My life had been inexplicably changed with the sound of my daughter’s heart beating strong and resolute. We had some serious work to do. What ensued was a display of love, support, and encouragement from family and friends as my wife and I worked hard to make sure our home would be ready for little _____ (sorry!) when she arrives any time now. It started with the kitchen and quickly spilled out into our dining room. (There are far too many pictures to post here, so feel free to browse through the project on Flickr.)


I haven’t been around for a while. I’m not writing in an effort to explain my absence or even to get more likes, props, kudos, or back-slaps for the blessings I’ve been given this year. I’m writing because of the support I’ve felt, along with friends and family physically here, from you. The notes on Twitter, the blog comments, and the emails…they did not fall on deaf ears.
The year has been wonderful, and I’m excited about the new things on my horizon, even though they’re not in a physical classroom any more. I’m reminded every day that learning can, and should, happen without walls, and I’m thankful for the friends surrounding me, helping me continue to learn.
When the Camtasia Mac update came out a few years ago, I was intrigued by the new sketch motion callouts included in the media. Essentially, they’re little animations of circles, squares, squiggles, and arrows to spruce up my videos. They were cool, but I quickly wanted the ability to create my own custom callout for my videos.
Using some Camtasia trickery, you can create custom animations. I tried it and made a short proof of concept video to make sure it worked. Rather than typing the whole thing out, I made a short video (4:30) on the process I used. You can see it below or watch it on YouTube. After the video, I’ve got some other tips on how to manage the custom callouts you make.
If I were going to do this frequently, I would make a little library of callouts to import. You can’t add media to the library in Camtasia Mac (but you can in Camtasia Studio on Windows), but you can make your own library of callouts. Go through the process I outlined above and then export your callout as an mp4. Save it in a folder on your computer and then import the callouts when you need them in later projects. They’re so small, your videos won’t have a noticeable difference in file size.
It is a little convoluted, and will take some time, but after you get the process down, you should be on your way to making your own custom callouts. If you have one you want to share, put a link in the comments below.
A year ago, I discovered If This Then That (IFTTT), which might be one of the most innovated web services I’ve ever come across. Ever.
In short, it allows you to create simple programs that help manage things you do on the web. If you use the Internet a lot, you should use IFTTT. Like, today.
I started with some simple scripts to do things like auto-tweet new blog posts and tweet new YouTube uploads (a lot of stuff to do with tweeting, actually…).
As I played with it more, I got crazier ideas. For instance, I travel for work. If I drive my car, I can deduct the mileage from my taxes each spring. But, the IRS wants me to have proof of that mileage. Now, I could keep track of receipts, but that’s a little insane. I do have invoices, but I wanted one more level of tracking. Well, I created an IFTT recipe that will add my location (through Foursquare) to my Google Calendar when I use a certain tag with my check-in. You can grab it here.
Now, I’m trying to think of ways I can use it to share out what teachers and students are doing. For instance, I had an idea yesterday on ways to crowdsource photos from a conference. It takes some creative thinking around Gmail and a Flickr or Instagram account, but it can be done.
If you’re interested in using this recipe, you can grab it here, but there are instructions below.
- Set up a Gmail filter – There’s a good tutorial with a video here if you don’t know how to do this. The important thing is to make sure the filter is easy to manage in whatever account you’re using. A good way to manage it is to make the filter the name of the conference (or the Twitter hashtag you’re using).
- Make sure your attendees use that filter – IFTTT looks for that Gmail filter, so if the email isn’t grabbed by Gmail, their photo won’t make it to Flickr. I make sure they do this by making the subject line of the email the conference hashtag.
- Tagging on Flickr – The script is set to tag the photos with the name of the conference. This will help you manage those photos later if you want to add them to a set or group. I would keep that, but you can add more if you want to.
- Make sure people know about it! – Be sure to tell your attendees that all they have to do is email you a photo, and it will get posted automatically.
I’m looking for a way to get Twitter photo uploads to go to Flickr, but because you can’t use Twitter as an input anymore, that’s becoming a little more complicated. If you want people to use Instagram, you can create a similar recipe that looks for an Instagram tag and it will send those to Flickr for management later. I chose email because there are still a lot of people that aren’t on Twitter or Instagram, but use email. Seemed like a low barrier for entry.
Do you use IFTTT? What’s your favorite or most creative recipe? Share links in the comments!
My computer is getting pretty full of photos. I’ve been taking more, but it is also housing nearly every photo taken since my wedding in 2009. I know that is chump change to a lot of people, but it’s been bugging me.
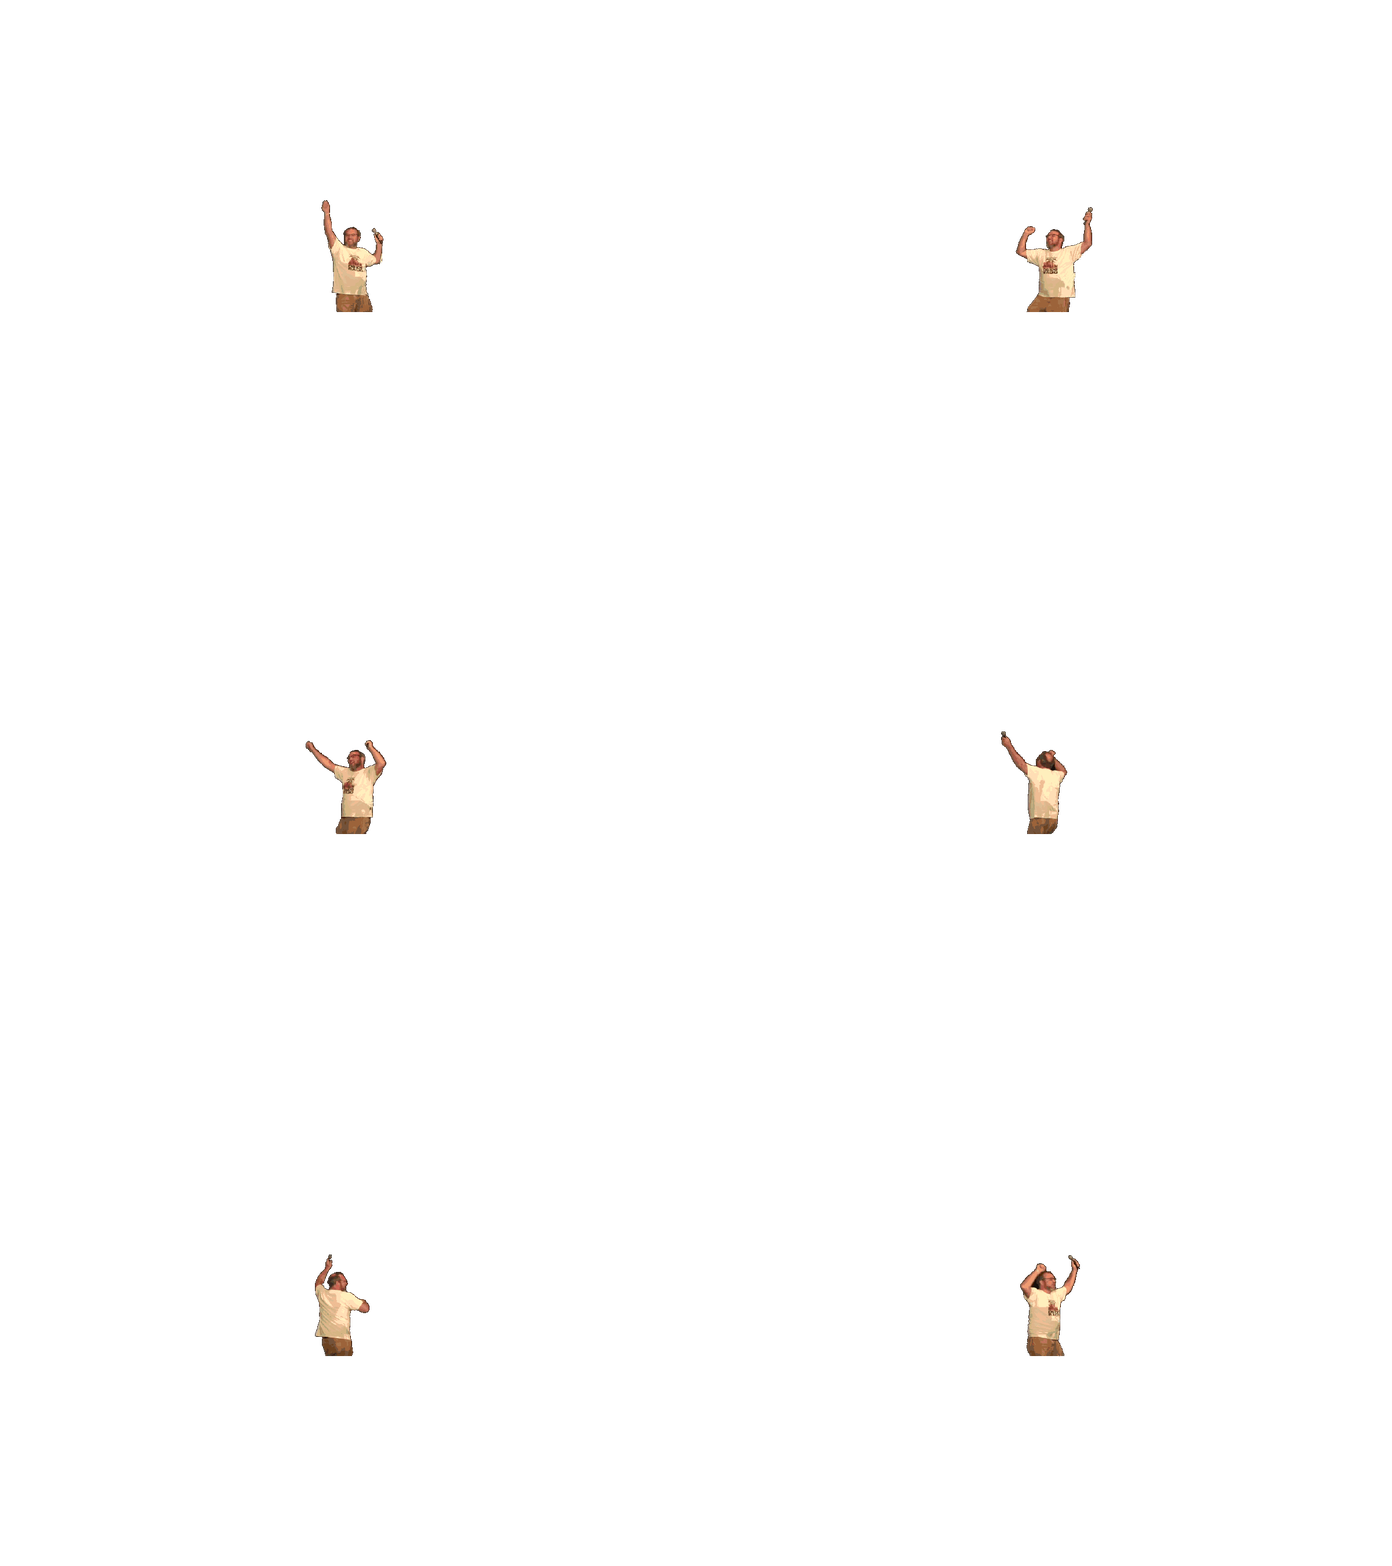
I was going back through some of my kitchen remodel photos from earlier this spring and…well…I don’t know how I missed it, but some random guy is dancing in my back yard in one of them. I have no idea who it is. I also don’t know how the hell I missed it the first time through these photos.

Who the hell is that guy?
I haven’t finished going through my pictures, and I haven’t seen him since the tear out day back in May. But since seeing…whatever it is…I’m worried about walking past that window alone at night.
—
This assignment was tough because I needed to find a way to keep my image small (original is over 2400 x 3200, and over 2MB) and make sure Jim stayed outside. So, I converted my image to 64 bit and resized it to 650px tall (173KB final size, with all the layers). That dramatically changed the file size, which was awesome. To get Jim outside, I imported the modified GIF as frames (thanks Talky Tina) and then cropped, scaled, and positioned. I merged Jim with the background image.
To get the window frame, I used the lasso select to pull the glass part, being careful to cut around objects on the window sill to keep some depth perspective. Then, it was a matter of duplicating this cut window frame and merging it into each later of the project to sit on top of Jim.
I had tried to do this back during the summer #ds106zone sequence, but couldn’t figure it out or something. I don’t remember.
Leading up to the headless ds106 planned for this fall, it’s an August GIF-a-thon. I managed to find some time tonight to get one finished and uploaded.
What you see below is a reconstruction of what really happened. We were able to get to the doctor in time to reduce the chance of major scarring. Today, you can barely even tell this occurred.

Don’t lose your head. It isn’t worth it.
The GIF is 11 frames long, which keeps its size pretty low. I also varied the length of each frame to give the illusion of the ball flying back at my face much faster than I threw it to Peter, because that’s what happened IRL. What a punk.
Two or three weeks ago, I was home alone, tasked with priming the new drywall in my kitchen. I decided to geek it up a little bit and film the entire process so I could come back and time lapse the work.
I tried using a couple different time lapse apps, but I didn’t really like the quality of the tests I did. So, I ended up filming on my iPad and then pulling the huge files into Camtasia to speed the clips up. Next time, I’ll probably spend more time researching time lapse apps so my files aren’t as big.
Here’s the video:
I was at EdCampBLC this morning in a session talking about “transformative change,” whatever that means. A lot of the discussion focused on how we can use technology to bring change into classrooms, and my mind kept sitting on the fact that there are mental barriers to change that we overlook, and in turn lose people, because of the high-level goals of the changes.
Bring on the tech
Often, change is heralded by, “We just bought [insert number] of [insert tool] and it’s going to bring so many awesome learning opportunities.” It’s all well and good, and kids and teachers get excited, but many times, the routine is the same, the expectations are the same, and on top of it, practice doesn’t change. We’re approaching this from the wrong direction, and it’s our own fault.
Let’s talk learning theory for a minute. When we’re learning something new, there is a conflict in our heads. Our previous experience (schema) is in conflict with the new information. As we assimilate the new ideas, we have to reconstruct or adapt our prior knowledge. So, when teachers are approached with, “You’re going to use [insert device] to change your teaching,” we’ve introduced an overwhelming learning curve. We’ve set each other up for failure.
We need to consider what kinds of challenges, besides learning the tech, teachers face that need to come before using [insert device]. And not just consider them, but actively address those barriers before we even announce a new program.
Change the process
What would the training look like? We need to vastly expand the process we follow when it comes to preparing for new initiatives. Rather than introduce change as jumping into using a tool, start with physical spaces. Challenge teachers to move their desks into groups rather than rows. The simple act of changing the space will lead to pedagogical questions and struggles. How do we manage individual work? How do we manage instruction? A lot of the problems that come up will lead to a myriad of answers, many of those being the innovation we want to see. All done without tech.
Too often, transformation or innovation are centered on the tool rather than the process. Let’s put the process first, and then introduce the supporting tools as they come up. So much of what we do is driven by the tool and we wonder why things don’t change. It’s because the tool can’t bring change on its own.
How have you supported successful change? What kinds of things, at their root, led to transformation in your teaching and your student’s learning?
I came across something so absurd, and so initially shocking, I almost thought it was a joke. Unfortunately, it isn’t.
Yes, ladies and gentlemen, we have reached a new height in absurd uses of technology. I give you: TeachLIVE.

TeachLIVE: We standardize the students for you!
The name itself is a joke because there is no teaching involved, and it is nowhere close to “live.”
I wanted to write last night, but 24 hours later, I’m still so frustrated by this that I’m having trouble staying coherent. In short, University of Central Florida has decided that teachers learning to teach in real classrooms poses a threat to students. In fact, they believe learning to teach in a real classroom can be so harmful, they make sure you know this from the opening sentence:
TLE TeachLivE™ is a mixed-reality classroom with simulated students that provides teachers the opportunity to develop their pedagogical practice in a safe environment that doesn’t place real students at risk.
Somebody pinch me.
This program is selling snake oil at the expense of the profession of teaching. Again, from the about page:
In the TLE TeachLivE™ Lab, pre-service and in-service teachers walk into a room where everything looks like a middle-school classroom including props, whiteboards, and of course, children. However, unlike the brick and mortar setting, the lab is a virtual setting and the students in the classroom are avatars.
It makes me sad because this is being heralded as a new age of teaching teachers. Hell, if we can’t make kids fit standardized tests, let’s train teachers to respond to standardized kids, so it’s easier to give the tests when you’re in front of real children. Plus, kids are a real pain to deal with when you’re learning to teach.
There’s even a promotional video (which I had to keep pausing because the ridiculous jumps by a factor of 100). I posted it below, if you want to try and watch it:
Again, this is highlighting the sad fact that the teaching profession in America is being slowly eroded. I’m planning on writing a letter to UCF to express my utter dismay at the idea that training teachers on a simulator is an adequate substitute for authentic teacher preparation. I want to encourage you to do the same.
My schedule has been picking up like crazy, and I’m afraid this may be my last ds106 post for the summer semester. Maybe I can get one or two more assignments in, but I don’t think it’s going to happen.
That being said, it’s time to clear the air.
I know Alan posted that he is the creator of @IAmTalkyTina, but I’m here to set the record straight.
As I was getting into ds106, Ben Rimes was telling me about all of the role playing and storytelling that happened within the narrative of the course. I loved that it spilled over into the online interactions, so I thought setting up a ds106 character right from the beginning based on the Twilight Zone would help me get right into the swing of things.
So, officially, I am the creator and running of @IAmTalkyTina. She isn’t going to disappear, although my work will…there are still some twists in the ds106zone Talky Tina story. Keep your eyes out.` <http://www.twitter.com/iamtalkytina>`__ I’m still watching you…
Ben, I’m sorry if you’ve lost some sleep over me, but I sure had fun scaring the pants off you once or twice. I hope we can still be friends…
Short post this morning, but last night on my way home from work, I did a short drive-by reflection. I was thinking about connections and how those impact those around us. It’s in two segments, but edited into one file. The only major editing I did was to compress the files so the sound didn’t clip during playback. You can listen below.
[soundcloud url=”http://api.soundcloud.com/tracks/95996924″ params=”” width=” 100%” height=”166″ iframe=”true” /]
I’ve been diving into Google+ a little bit more lately, and this is stemming from some of the experimenting I did yesterday, when I posted how to record a Google+ Hangout with higher quality audio for podcasting or other interview-type things (great language, I know).
That led to a discussion last night with Lisa Nielson, who was trying to schedule a Hangout On Air for a discussion happening the following night. So, I did some research, and we messed around with Google Hangouts for a few minutes and found a solution. I decided to post everything I found on managing that Hangout here. So, I submit to you: how to manage Google Hangouts On Air so people can actually find the broadcast when it begins. I’m going to outline three possible solutions, and you can take your pick.
Please note that while I tested these sitting at my desk, they have not been tested in the wild, and you should do some testing before your event to make sure you’ve got everything ready to go.
The Dedicated Page
The easiest way to help people find your broadcast is to create a page on your blog where you embed the video stream. When you are prepping the broadcast, there is an embed code in the window. You can grab this code and update the link on your blog before you actually click “Start broadcast.” It will display a “Broadcast starting soon” placeholder until you actually begin the hangout. It’s a lightweight option, and you’ll need to remember to update the link, but it’ll be easy for your audience to find each time you run a show.

You can grab the embed code at the top before you click “Start Broadcast.” Click for a larger image.
YouTube Live URL
YouTube and Google are peas in a pod, with a lot bleeding over into the other. Hangouts are the same. When you run an On Air Hangout, YouTube will automatically record and archive the video in your channel so people can go back and check it out if they miss the live broadcast. But, there are a couple things you need to do first in order to get that to work. Rather than reposting it, here is a Google+ thread with all of the setup that needs to happen in order to get Hangouts On Air to work properly. It isn’t as much as it sounds like, but it’s a good idea to check to make sure you’re not stung at the end.
Okay, back to how YouTube makes this easy. Once your account is verified and your channel linked to your Google+ profile, you can grab a super-awesome new URL that will always be the live stream in the future. I learned this from ReelSEO’s channel, and you can take a look at the video if you want to see the whole process. In short, share the following URL with your audience for any On Air broadcast:
http://www.youtube.com/user/USERNAME/live
Obviously, replace the USERNAME with your username. So, mine would be http://www.youtube.com/bennettscience/live for any On Air broadcast. When you’re not live, viewers will be redirected to your YouTube channel.
Why should you do this rather than embedding a link on your blog? One word: Backchannel. YouTube’s interface includes a comment box to one side where your audience can discuss the broadcast. Engagement is always a good thing.

On the YouTube channel, your viewers can discuss what’s happening right on the stream page.
The Event
The third, and most circuitous (but most robust) way to plan a Hangout in advance is to use a Google Event. This is the method I’m least familiar with, and honestly the workflow is a pain right now (even Google admits it), but it is powerful if you can get a system worked out. I think this would work well in conjunction with either the YouTube URL or the blog post embed.
So, if its confusing, why use Events? A couple reasons. Events link to your Calendar, so management becomes very easy. They’re also listed on your Google+ page. So, if you have subscribers connected there, they’ll see it in their stream. They can also RSVP right through the Google+ stream, so you can begin engaging before the show. It will also send a calendar reminder to people who have RSVP’d, so you’ll have a higher attendance rate (in theory.) All of that is great, but it’s the actual implementation of the show that could use some improvement.
I pulled the tips from this Google community thread, and I suggest taking a look at it. In short, here’s what you would do:
Make a new regular event. You have to make it regular in order for it to work properly. If you create an “On Air” event, it just means it shows up in your public stream. You can still make the regular event public, you just need to share it with that group in the creation page. This is how you’ll get RSVP’s for the broadcast. In the description, you can also add a reminder to check back for the URL once you’re live.
Before the scheduled event, create a new Hangout On Air like you normally would, and share it with those participating. This is where using the YouTube link would really be helpful, as you only need to invite those people in the hangout with you, not those watching.
Copy and paste the Hangout URL into the Event details (see screenshots). This can be either the Hangout itself if you want people to join, or it can be the YouTube live user link from above to direct people to the broadcast.

In your Google+ Events, click on carrot in the top-right corner of the Details card.
Click on Advanced, and then Show More Options. You can then add a URL to your in the **website URL** field. If you try to add the link in the YouTube URL field, it’ll return an error. Thanks to Elayne Whitfield for pointing this problem out in the comments.

So, I like Events, but the workflow to actually begin the Hangout from the Event isn’t there. Again, the Events workflow is documented well in the [community thread](http://productforums.google.com/forum/#!topic/google-plus-discuss/N_W2X7Jaj44), so take a look there for more discussion.
I’m working on a super-secret project right now (more to come this summer…bear with me) which will require me to record interviews via Google Hangout. Now, I know I’ve written before about how to screencast on a Chromebook using Google+, but the quality of those recordings, in particular the audio, can leave something to be desired. So, I went looking for an alternative.
I fell down the rabbit trail of apps that do this and that, but none of them really did what I needed. I knew I wanted to use Audacity to record and edit, but I couldn’t find an easy way to record both my microphone as well as the system audio for the people I’m speaking with.
Luckily, I’m currently going through ds106 with some radio geniuses who where able to help. I can’t go any further without giving ScottLo a MAJOR shout out for helping me work this out. Rather than type the entire process out, I’ve got a video showing how I set everything up to record the Google Hangout. Beneath that, you can see the tools (with links) and their settings written out.
The Video
Proof of concept mp3
The Setup – Links below take you to downloads if you don’t have the software yet.
System Audio
LadioCast
- Input 1 – Soundflower (2ch)
- Input 2 – Your microphone
- Main output – Soundflower (64ch)
- Aux output – Built in output/headphones (for monitoring)
Audacity
- Input – Soundflower (64ch)
Google Hangout – This works the same for Skype.
- Input – microphone/built in mic
- Output – Soundflower (2ch)
Again, if you need help setting this up, send me a tweet (@bennettscience) and I’m happy to help.
I was able to squeak out another audio assignment today for the zone. While it isn’t Twilight Zone based, sometimes reading Craigslist can feel like its own alternate universe.
I chose to beat Craigslist because…well, because finding a ridiculous post was pretty fun. I made sure to stick local, so I humbly submit the following performance using material provided by my community:
This was pretty simple, as I stuck to GarageBand loops and samples. I recorded my voice right into the program and then added the radio voice effect to brighten the sound a little bit. It’s short, but it was fun.
If you don’t believe this post is real…I beg to differ.